Setting up Your Development Environment
If you’re developing with Visual Studio Code or a JetBrains IDE with JavaScript support (e.g., WebStorm), we recommend using the latest version. While yFiles for HTML has no specific requirements, some features for effective development are only available, or work much better, in newer versions.
You can also take a look at this video for a complete walkthrough.
Creating a Project
Depending on the IDE you are using, create an empty project or a new folder in the file system with a suitable name. This will be the project’s root folder.
Using the npm Package
Next, you need to add the yFiles for HTML library and the license to your project.
The yFiles for HTML library is provided as a tgz file located in the lib directory of the yFiles package.
We recommend adding the library as an npm package to your project. This approach offers the benefit of coding assistance features such as code completion, parameter information, code inspections, and quick documentation lookup, all without requiring additional configuration. We highly recommend taking advantage of this feature.
If you are using an evaluation version of yFiles for HTML, an evaluation license is included in the yFiles package and located at lib/license.json.
Otherwise, use the license that was provided to you separately.
To install yFiles as an npm package, ensure that Node.js is installed.
Then, open a terminal in your project folder and create a basic package.json file by running:
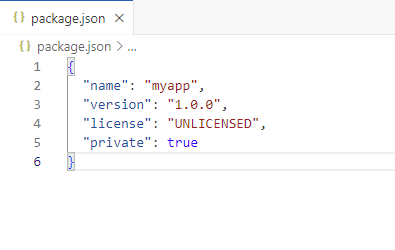
npm init -yAlternatively, you can manually create a new package.json file with the following content:
{
  "name": "myapp",
  "version": "1.0.0",
  "license": "UNLICENSED",
  "private": true
}
The lib-dev/yfiles-<version>+dev.tgz file is an archived npm package containing the yFiles library.
Therefore, you can install yFiles for HTML from your local yFiles package with the following command:
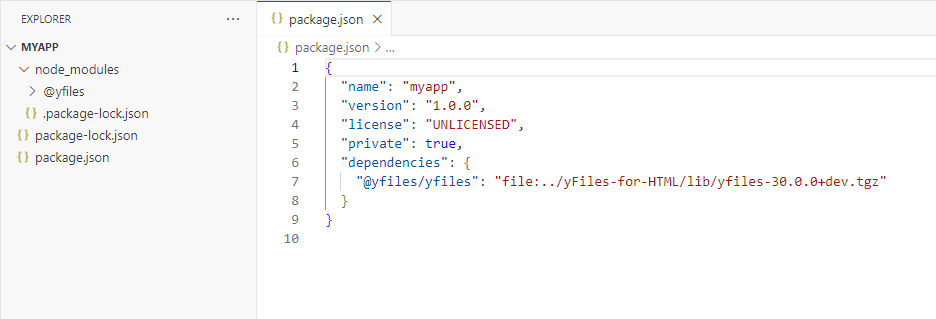
npm install <yFiles package path>/lib-dev/yfiles-31.0.1+dev.tgzThis effectively copies the yFiles for HTML library into the node_modules/@yfiles/yfiles directory of your project.
Including the License
If you are using an evaluation version of yFiles for HTML, an evaluation license is included
with the yFiles distribution and can be found in lib/license.json.
Otherwise, use the license that was provided to you separately.
You must include the license data in every web application that uses the yFiles for HTML library. However, it does not need to be in a separate file. See the section about registering a license for more details.
Creating a Web Application
Now that the project has been set up, continue with your first yFiles for HTML application. This tutorial introduces basic yFiles features that you’ll use in almost all of your yFiles projects.
We also offer introductory videos that provide a quick start with tutorials about working and developing with yFiles for HTML.
TypeScript Support
yFiles for HTML offers first-class TypeScript support. See the dedicated TypeScript chapter for more details.
Visual Studio Code
Visual Studio Code provides extensive support for TypeScript projects. Detailed documentation is available on the Visual Studio website.
WebStorm
For detailed instructions on working with TypeScript in WebStorm, see TypeScript Support in WebStorm.
Visual Studio
The latest Visual Studio releases support TypeScript out of the box. The TypeScript home page also offers download links for various Visual Studio versions.
Runtime Developer Tools
yFiles for HTML includes a development library with powerful runtime tools and assistance features. These tools enhance your development process, simplify debugging, and help you better understand the yFiles for HTML API.
For detailed information about the available debugging aids, see the chapter about the development mode.